Hair Bleaching is very effective for those who wish to have a blonde or pastel-colored hair. Nowadays, it is a trend to get a cool and wild colored hair and it can fit any styles and occasions. Sometimes, it is a way to make a self-expression, but not necessarily as rebellion. Anyways, getting a blonde or colored hair is quite expensive, but you can have many options to get one like the over-the-counter hair bleaching kits and hair toning products or go to a cheap hair salon. The choice is yours.
My Hair Bleaching Journey
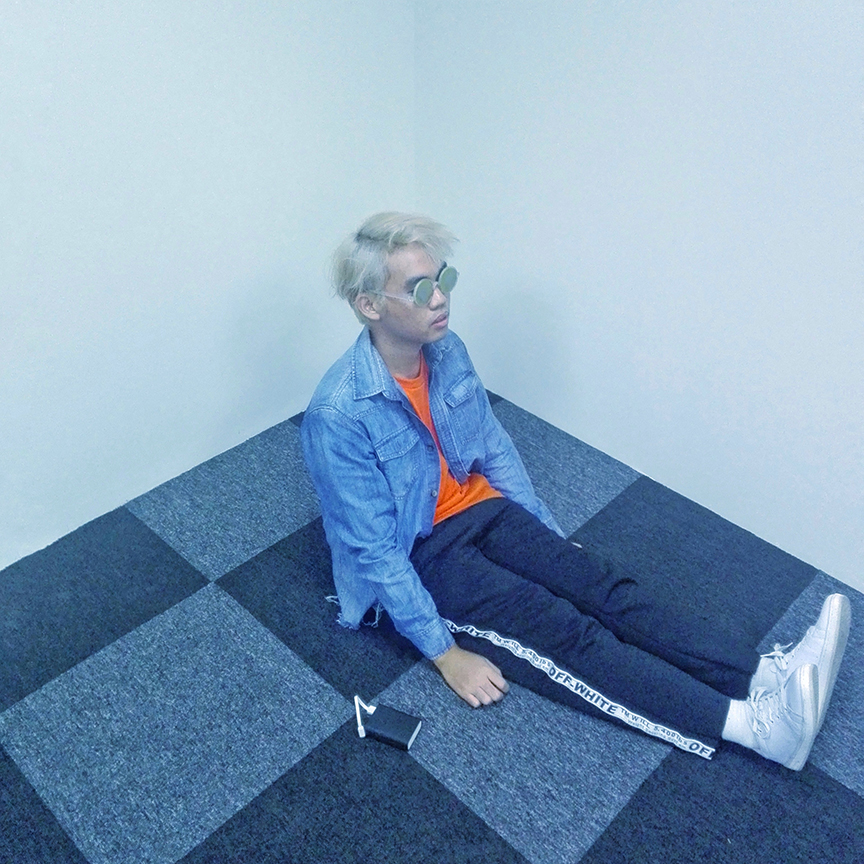
I have done a good job this year to have a perfect blonde hair and it was worth to invest a little bit for my hair. It was so scary at first because I managed everything from start to finish. On those stages of the hair bleaching process, it was a mix of surprise and confusion because I noticed of hair breakage at the end of my hair strands. Well, I prepared for any possibilities like hair damage or else I should go to a barber shop and request for a skinhead. Hahaha!
Here are the steps and stages of getting a perfect blonde hair based on my personal experience.
(Disclaimer: I’m not a professional hair colorist or hair expert. Everything that I wrote here was based on my personal experience).
STAGE 1: Look for a good quality hair coloring products.
I discourage everyone to ignore those cheap products like hair bleaching and toning because it can distress and damage your hair. But it really depends because some of the cheap hair coloring products are effective and safe. What I did was I researched a lot for the best and safest hair bleaching and toning products in Google and l looked also for good reviews on YouTube.
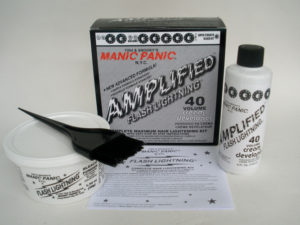
Then I found Manic Panic Flash Lighting 40 Vol. Hair Bleaching Kit as the most effective and safe to use. I purchased it at Rainbowhead Ph, an online store here in the Philippines, through online transactions.
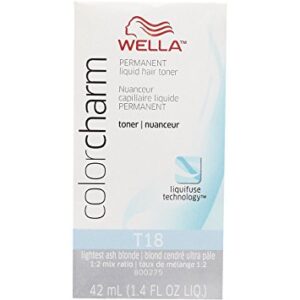
I also purchased Wella Color Charm T18 (Lightest Ash Blonde) as well as hair toning. It was a convenient to order online because there are times that you can’t find the specific hair coloring products in Pharmacy or in shopping malls. It’s much better to look for a stock online.
The total cost for it was around Php 1,300, plus the delivery charged. You can see the full details at rainbowheadph.com or just find them on Instagram at @rainbowheadph. I received my order around 4 days via Xend. It was so fast!
STAGE 2: Hair & Scalp Test.
You should test your hair before applying it to your head. There are possibilities to get a bad reaction to your hair and scalp as well. Hair Bleaching products are chemical-based and contain ingredients that can cause skin irritation. What I did was I get little hair strands and I applied a little mixture to it and I also applied a little to my wrist for a skin test. You can find the full details of instructions on the packaging.

The result was, it was a little bit itchy, but it lasted around 3 minutes only. And I noticed a red pigment on my wrist, but it’s gone after I washed it. It was a natural reaction because of active chemicals for hair bleaching process. Everything was okay.
STAGE 3: Hair Bleaching Process
Just simply follow the instruction on the packing on how to prepare it safely. All you have to do is to use hand gloves, shower cap, and a face mask (to protect from chemical inhalation).
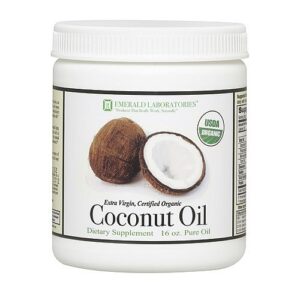
Before applying the mixture, you should apply a coconut oil in your hair for extra protection, but it’s an option.
Apply the entire mixture, the bleach powder and the hair cream developer in a plastic cup (not metallic cup) and apply entirely to your hair. For the ladies, you should purchase 2 sets of hair bleaching kit. The longer the hair, the many mixtures you needed.
Leave on for around 30 minutes and do not exceed 40 minutes and beyond or else except for the worst. Cover it with a shower cap to restore the heat and bleaching process.
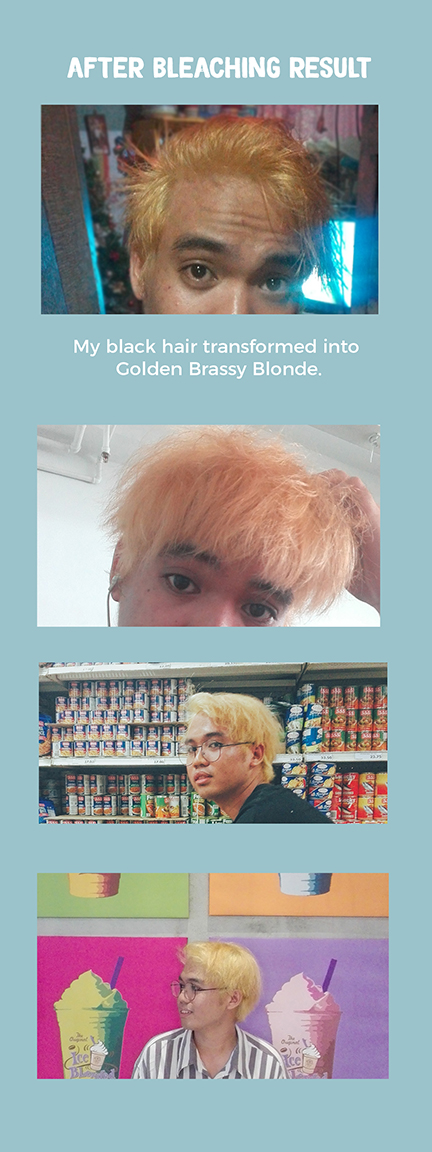
STAGE 4: Toning Time!
After 30 minutes of bleaching process, wash it with warm water and apply a conditioner to restore the ph level of your hair. And dry after using a blower.
As you notice, the hair color result is golden brassy. Which means, your hair is bleached.
Hair toning is a process of removing the brassy color in your hair due to hair bleaching result. There are certain parts of your hair that the brassiness is hard to remove because of past coloring processes. You should wait to remove it and continue applying a hair toner until you get the desired results.
The procedure of putting a toner in your hair is exactly the same as the hair bleaching process. Apply the mixtures, the hair toning mixture, and the hair cream developer, in a plastic can and mix it evenly. Apply the mixtures entirely in your hair and leave for 30 minutes. Use a shower cap to restore the heat and toning process. Wash after 30 minutes and apply shampoo to remove the excess mixture in the scalp.
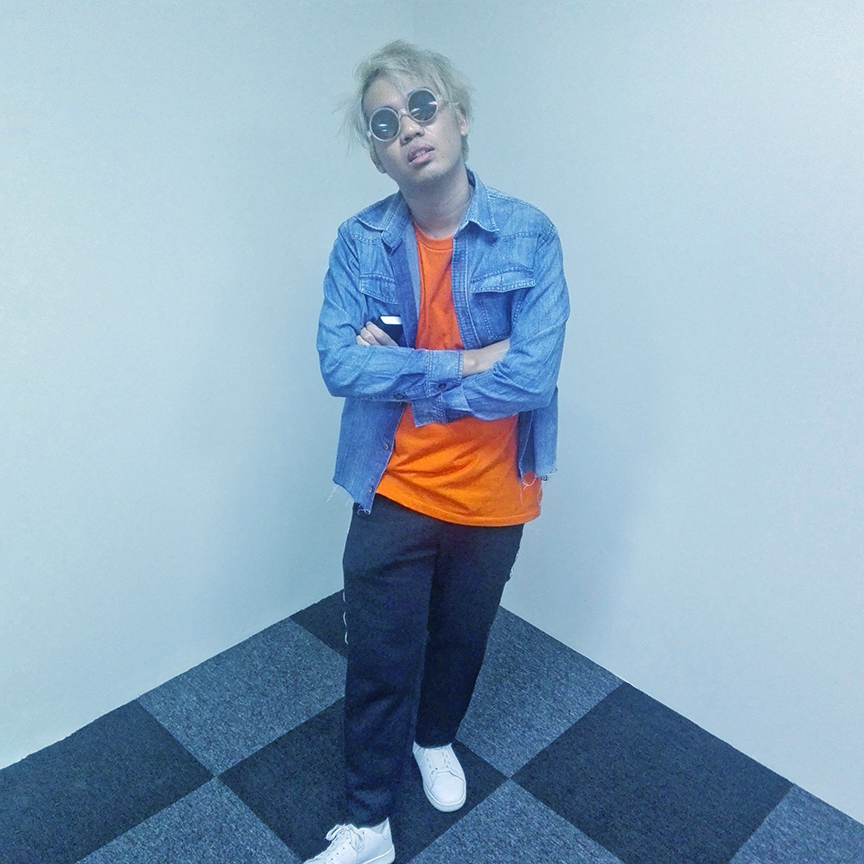
My brassy hair transformed into blonde hair. But I preferred to get a white hair or ash-blonde type of hair.
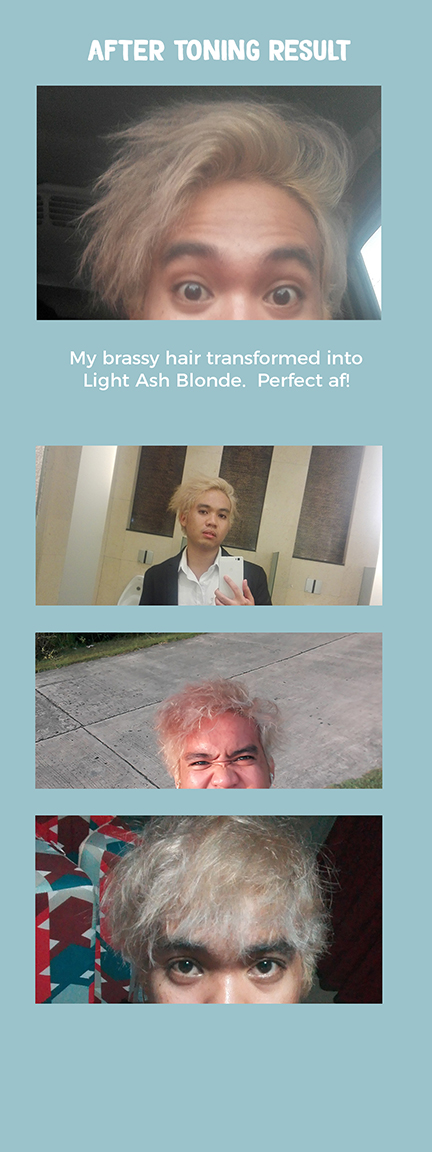
STAGE 5: Extra Toning
Hair Toning is the lengthy process to get a perfect blonde or ash blonde hair. I was surprised that there’s the easiest way to tone down your bleached or toned hair into lightest ash blonde, or silver gray hair. I discover Clairol Shimmer Lights Blonde & Silver Shampoo to easily tone down your bleached/toned hair into a fantastic result. The application of this product is almost the same from applying shampoo in your hair, but you need to leave it for 3 to 5 minutes only. Until now, I used Clairol Shimmer Lights every 3 – 4 times a week to easily remove the excess yellowish color in my hair.
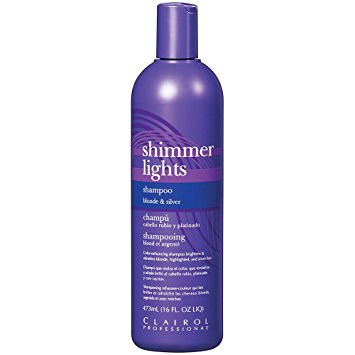
Clairol Shimmer Lights is around Php 600 at Rainbowhead Ph Online Store.
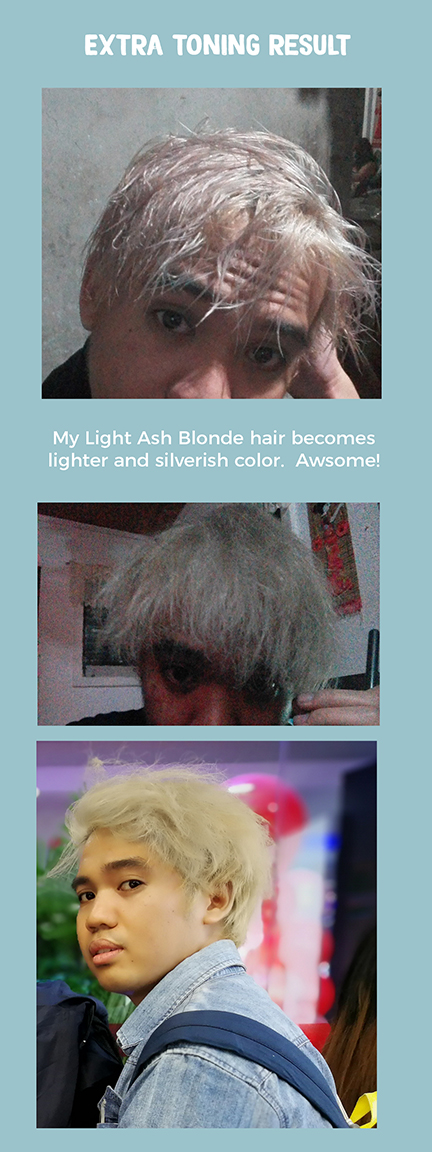
My Hair Care Routine
You should use conditioner every day to have a healthier looking hair. I used also virgin coconut hair cream for treatment for at least 3 times a week for extra smooth and shiny hair.
I am very happy and satisfied with the result after the very long process and procedure of achieving this kind of hair color. At first, it was very frustrating and I want to make it fast. Everything was in the step-by-step procedures and I don’t like to make it worst. That’s why I waited for how many weeks to achieve the desired color. At the end, it was worthy and 100% guarantee.
If you wish or plan to try it on your own, be careful and always read the instructions on the packaging. But the choice is always yours. All of this information that I mentioned and discussed is based on my personal experience, but you can do it as long as you are patient for any result and be ready for any possibilities.

Leave a Reply